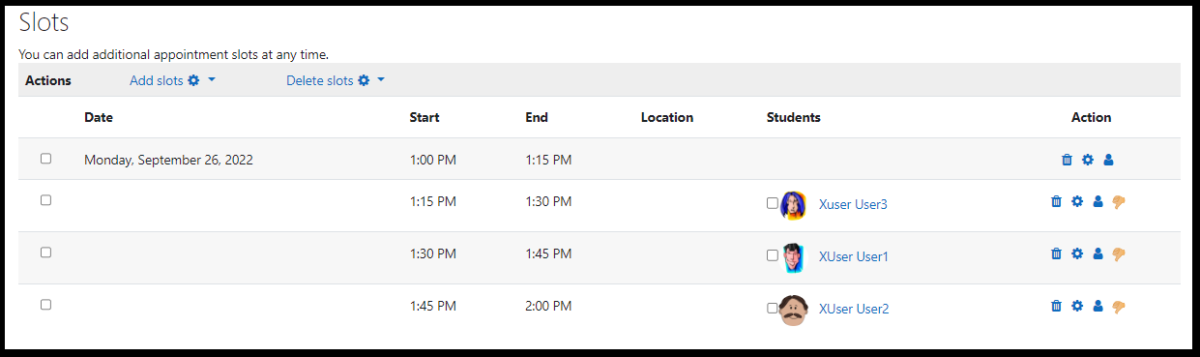
In June, Moodle was upgraded from v3.10 to v3.11. Changes resulting from the upgrade are highlighted on Moodle 3.1 (Summer 2022). Most notable is the change in the visual representation of activity completion from a checkbox to a “Mark as Done” button.
Other changes include:
Ability to hide or show activity start and end dates and completion conditions on the course home page
Time saving measures when building quiz questions
Addition of Panopto activities for linking to or embedding videos
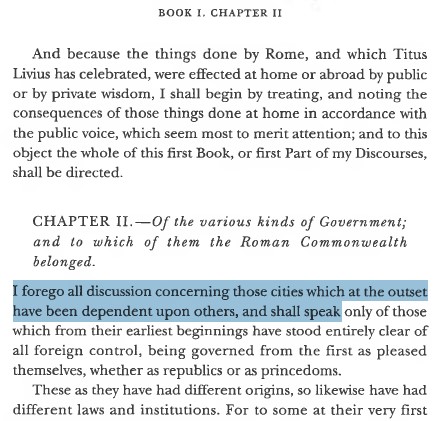
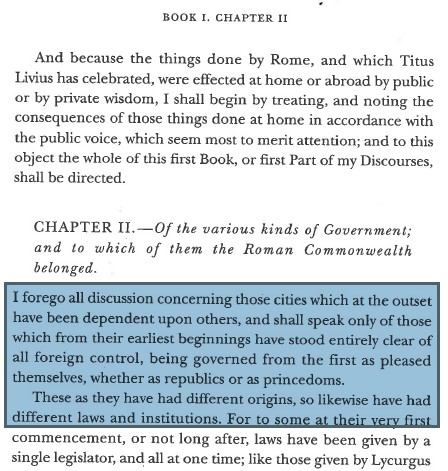
Often books or paper documents are photocopied and saved as a PDF in such a way that results in an “image” of the document rather than real text. Image-based PDFs can also result if a digital document printed to Adobe PDF.
People who have low vision, blindness or those who struggle with reading may use assistive technology which converts text to speech. A document which is an image of text rather than real text is not usable by most types of text-to-speech tools. Converting a text-based document to an audio file also makes it easy for students to listen to the document when they are traveling, if they have eye fatigue or potentially while working out.
You can determine whether the document is an image or real text by dragging your cursor over the text. If you can highlight the text, line by line, then it is probably real text.
If you drag your cursor over the document in Adobe Reader and a box is drawn around the text, or if you are in a browser window and you are not able to search for an obvious word like “the”, then it is likely an image of text.
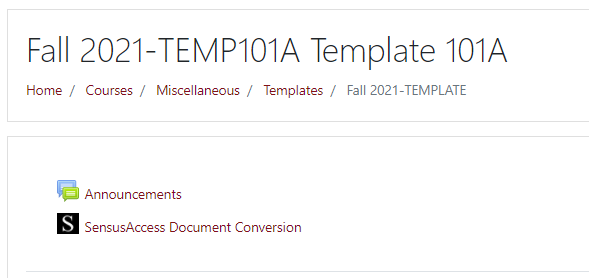
Colgate subscribes to SensusAccess, a web-based tool that will convert an image-based PDF to a text-based PDF or several other formats, including audio (MP3), Microsoft Word (DOCX), plain text (TXT), Braille and HTML. SensusAccess can be used by anyone with a colgate.edu email address.
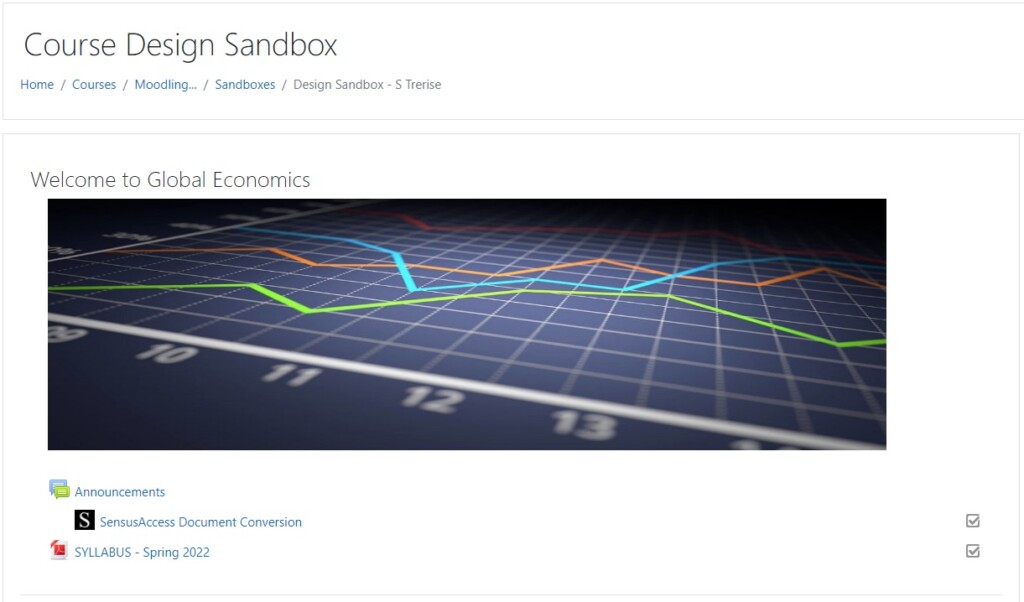
Moodle tends to be bland in appearance. Follow the steps below to add some color and personality to your Moodle course by incorporating an attractive header to the course home page as in this example.
Find an image. Search for images that convey the theme of your course (be aware of copyright). Alternatively, create your own image using PowerPoint or other graphics tool. Save the images as a file (jpg, png, etc.).
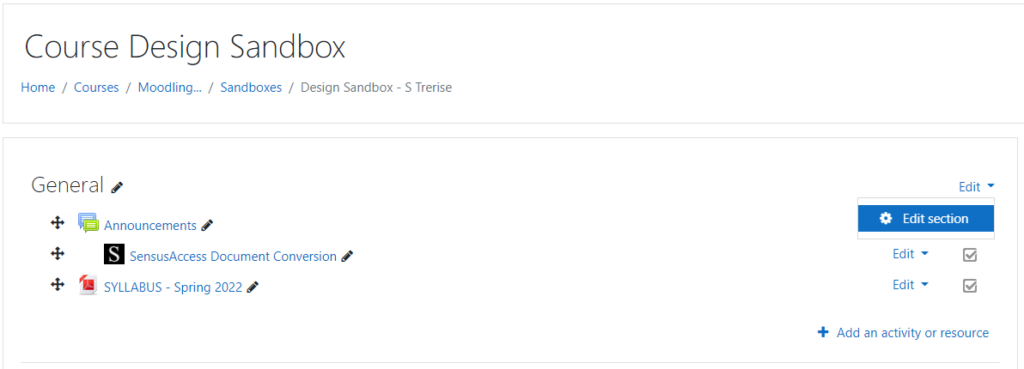
In your Moodle course, turn editing on.
In the first topic of the course, initially labeled ‘General, select the “Edit” link, then choose “Edit section”.
4. Select the “Custom” checkbox and add a welcoming Section name.
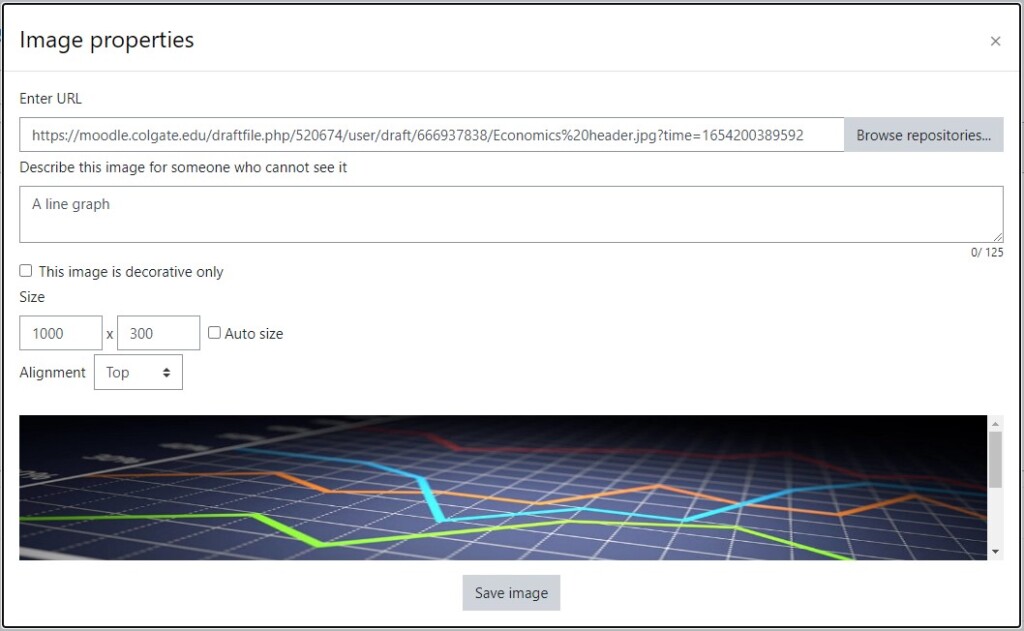
5. In the Summary area, choose the Insert image button on the toolbar.
6. In the pop-up window, choose Browse repositories and upload the image file you saved.
7. Provide a description for the image or, if the image is strictly decorative, check the box. Set the Alignment to “Top”. Once you save these settings and see how the image fills the space on the course page, you can return to modify the Size settings to better fit the page. Generally, 1000 x 300 provides a good fit. Checking the “Auto size” setting will ensure that the image maintains the original height to width ratio as you change the Size settings. Select “Save image.”
8. Scroll to the bottom of the page and select “Save changes“.
Make it easy for students to access important information by including it on the Moodle course home page. Include, for example, your contact information, office hours, Zoom meeting room links, etc. See the example below.
Link to Colgate Resources
Help students connect with resources on campus by providing links to information on the Colgate webpage. Include, for example: